After clicking “Create Channel Widget” from the Site’s Lead dashboard, you will be redirected to the Channel Selection screen.
This is where you configure how visitors can contact you through your website.
1. Widget Name #
At the top of the page, enter a Widget Name.
Purpose: #
- Helps you identify the widget inside the Ste Lead dashboard
- Useful if you create multiple widgets for different pages or campaigns
Example:
Main Support Widget
Sales Contact Widget
Customer Help Desk
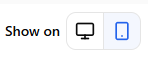
2. Display Settings (Show On) #
Choose where the widget will appear:
You can enable both or only one depending on your design or user behavior.
3. Choose Channels #
Select the communication methods you want visitors to use.
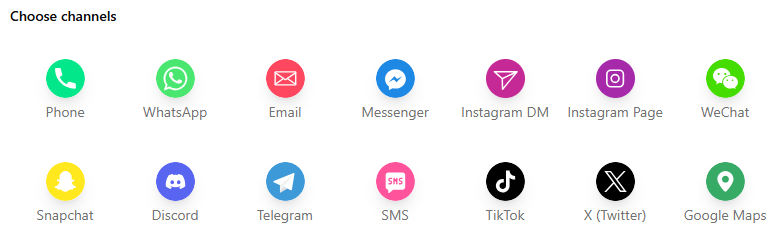
Available channels include:
Once selected, the channel will appear in the configuration area below.
4. Adding Contact Details #
Each selected channel will create a configuration block where you can add and manage the contact information. For example the phone number field:
Phone Number #
For Pro users, You can add multiple phone numbers that users can reach by clicking “Add New Contact.”

For Pro users, you can set availability by clicking the gear (settings) icon beside the contact.
After clicking the settings icon, you can:

- Set or edit the timezone for when the contact should be available.
- Choose the days of the week and specific times the contact will be available to users.

Once you have finished making changes, remember to click “Update Contact.”
Please note that this setting applies across all other channels as well.
Text on Hover #
You can add the text that will appear when users hover over the phone icon (for example: Phone, Fax, etc.).

Upload File #
If you do not want to use the default phone or mobile icon, you can upload a custom image that will be displayed instead.

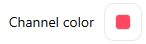
Channel Color #
You can customize the channel color, which controls the color of the icon.
Show on Device (Desktop/Mobile) #
You can control where the channel is visible.
- To show it only on mobile, select Mobile Only so that only the mobile option is highlighted.
- You can also choose to display it on desktop, or both devices.